Conversion Steps
Once you have completed your theme and added the attributes you can finally convert the template. 🍾
Export
Export your theme from the Webflow site
Convert with the Adapter
Open the Udesly Adapter Web APP you can find on udesly.com and choose the Shopify section to upload your template.
Upload the .zip file of the template you've exported from Webflow, insert template data (template name, author name, template description) and start the conversion.
Upload in Shopify
After the conversion the Adapter will automatically save on your pc the Shopify theme as a zip file.
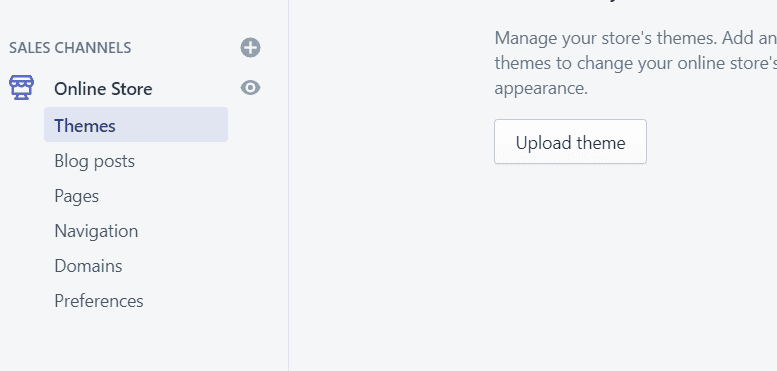
Open your Shopify Dashboard. Go to Sales Channels > Online Store > Themes and then click on the Upload Theme button.
After Upload, don't forget to activate the theme!
Pages
If you created static pages inside Webflow, don't forget to create them in Sales Channels > Online Store > Pages. Don't forget that the handle (slug) must be the same you used in Webflow and you have to select the appropriate template too.

Menus
If you used dynamic menus inside your Webflow theme, don't forget to double check that you have created them in Shopify. Following the path Sales Channels > Online Store > Navigation. Don't forget that the handle of the menu must be the same you used inside the custom attribute
Products List/Articles List/Sections
If you used any of these (100% you did). You have to adjust settings following the path Sales Channels > Online Store > Themes > Customize
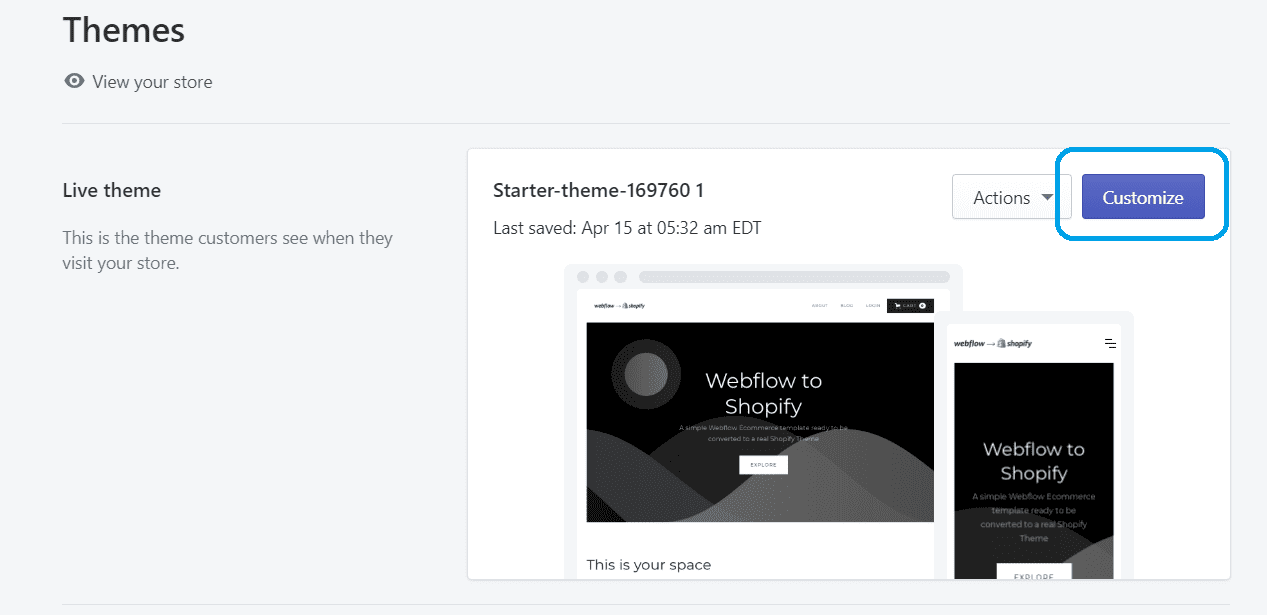
Here you have to choose how to connect collections, articles to the collection lists you used in Webflow, and you also have many settings regarding pagination and so on.