Menu
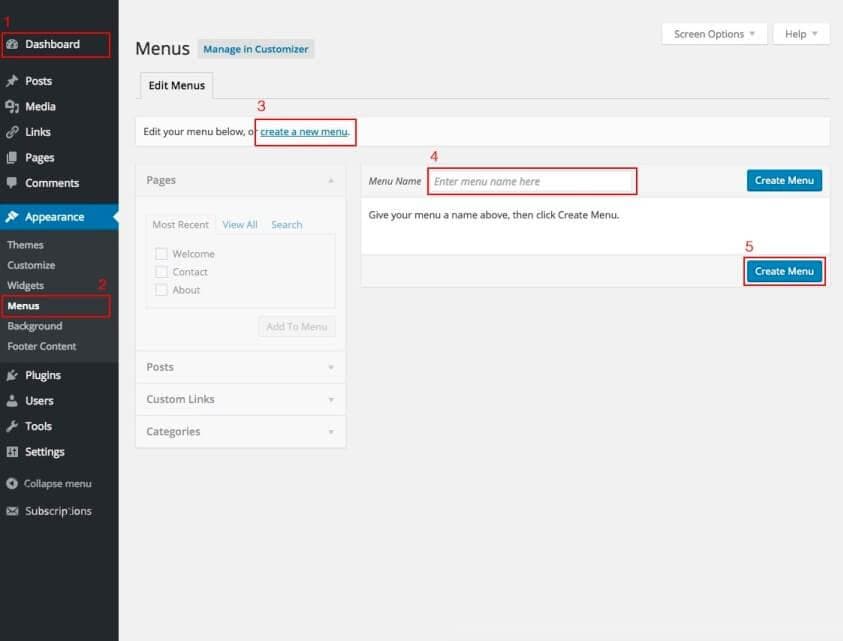
You can design a dynamic menu in Webflow and manage its content from WordPress admin panel. So, once you have uploaded the converted template to WordPress, you have to create the menu from the corresponding control panel.
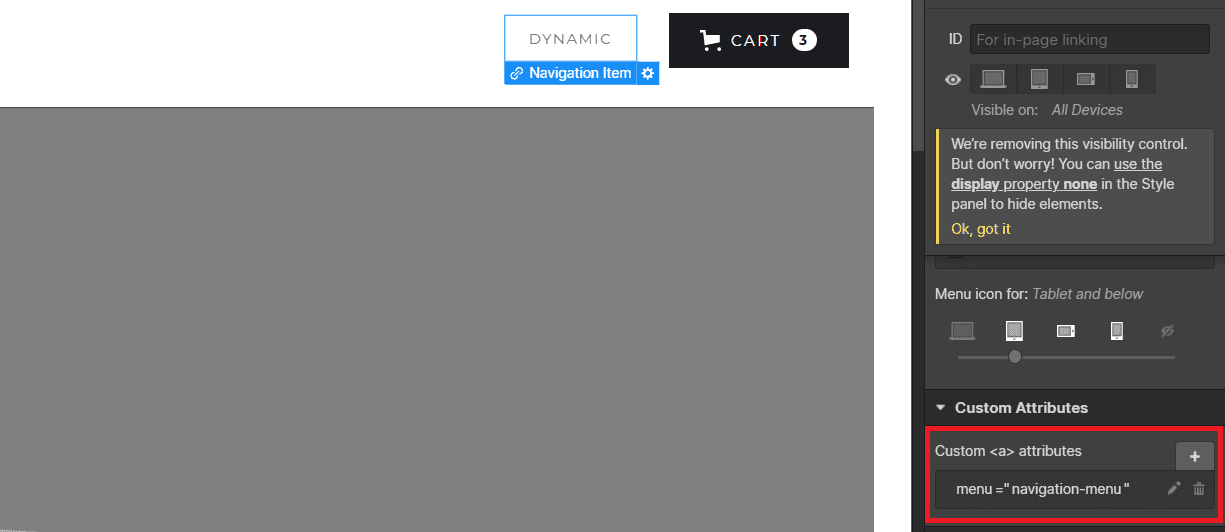
Please never forget that the name of the menu you insert here must match with the one you have entered in Webflow before.🙏🏻 Speaking of which, this is how you have to configure this feature on Webflow side: insert a Link element. This one will be repeated and if the link is inside a List Item, the whole List Item will be repeated.
Add the following attribute to the Link element:
menuyour-menu-nameLet's make an example. We get this navbar menu we want to make dynamic. We insert a link element and give it an attribute containing the menu name (whatever you want), let's say navigation-menu.
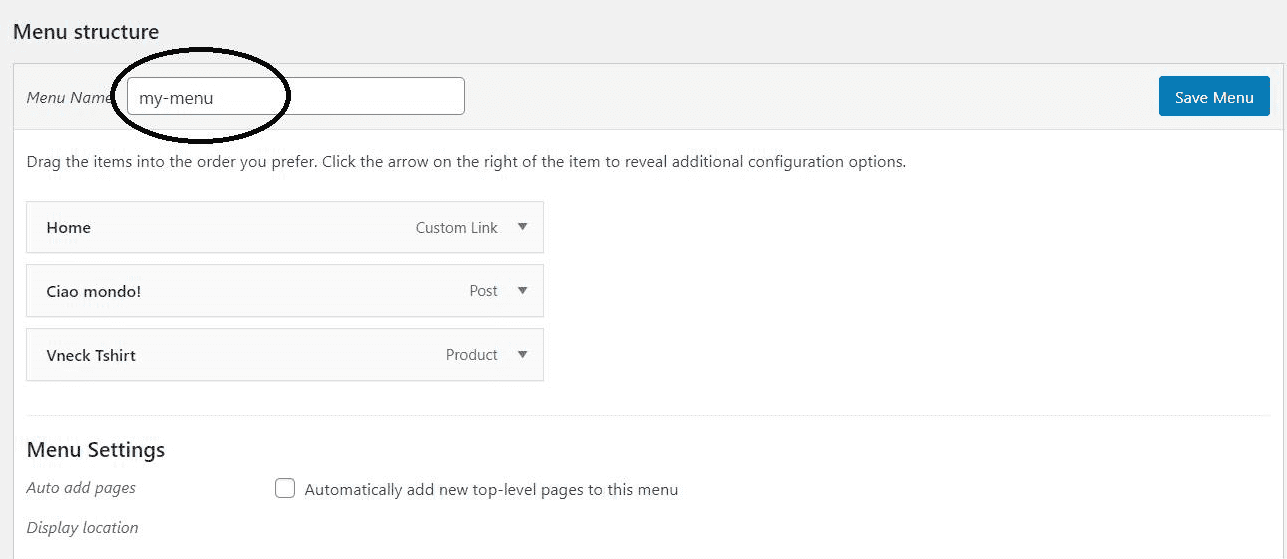
Now, once we are confident we get the most beautiful template in the universe, we can go ahead with the conversion and move on WordPress side. Here, we have to create the menu named navigation-menu and add all the pages we want to appear in our menu. In this example, we add About and Contact pages.

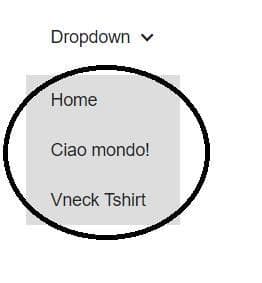
Et voilà! We have now our menu in WordPress exactly how it was supposed to be when we was thinking about that in Webflow.

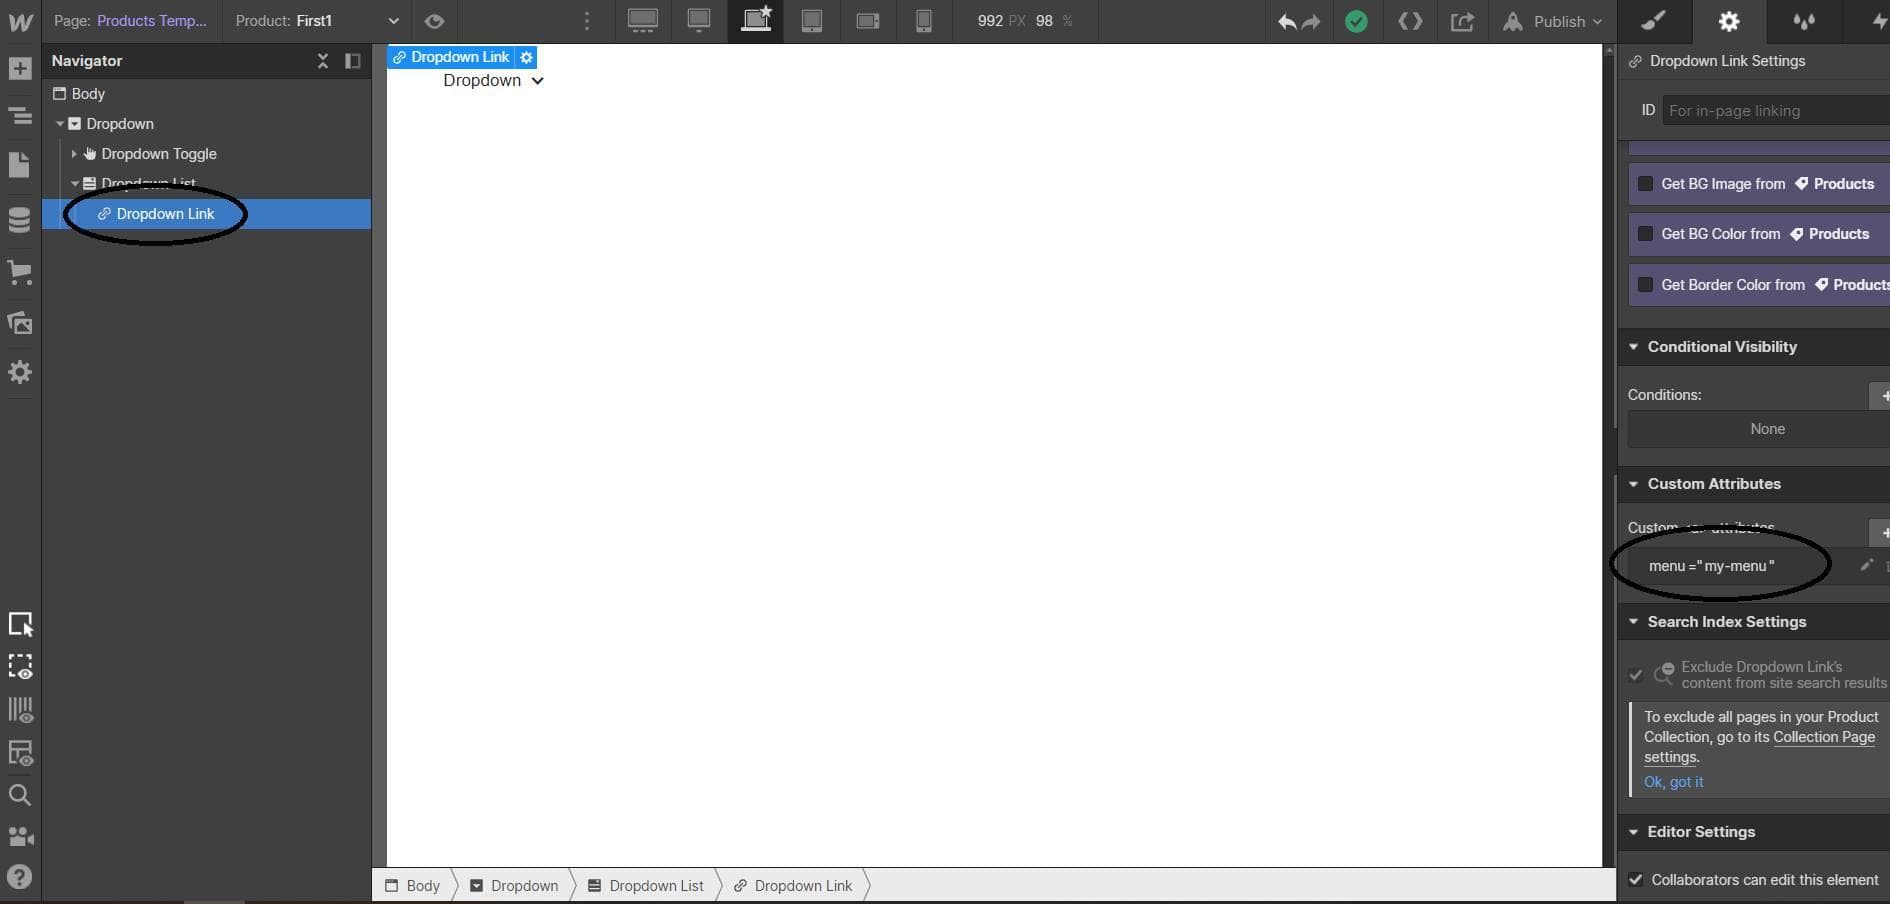
Dropdown Menu
If you want to create a dropdown menu, you just have to add the attribute above on a link contained in the dropdown and create the menu with the same name in Wordpress, it will get all links in the first level.